Steel Sandwich: A PCB toner transfer experiment (Part II, a useful first failure)
I lead with two developments that required an additional shopping trip—on Hack Friday, no less.
First, I discovered that there could be some situations in which the holes on the two opposing corners of the plates turn out to be insufficient. In particular, the board may need to be of a minimum size and placed symmetrically across the line between the two bolts; otherwise the pressure over the surfaces of the board may be uneven. One remedy for this could be to restore balance with a spacer of the same thickness, such as a scrap piece of the same copper-clad.
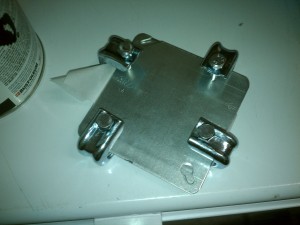
Another fix could be to forget about the holes and secure the board more evenly (for example, on each of the four corners) with some sort of clamps. This might be more generally applicable since it could be adapted to larger plates that do not already have holes. So, I had to identify something that would be useful as a clamp that is also inexpensive and capable of surviving being baked. A small steel beam clamp in the electrical section of Chain Home Improvement Store seemed like it could fit the bill for under $1 apiece.
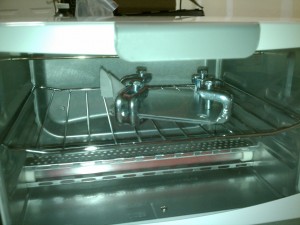
Second, my wife vetoed my use of the oven in the kitchen. This is completely understandable—we use it for food, and the hardware I’ll be heating, not being graded for food safety, could potentially produce all sorts of unfriendly gases and residues. This is a job for a garage oven, and that means a toaster oven. Fortunately, a fancy one isn’t necessary—an arbitrary box that semi-steadily holds its content at a set temperature is all we need. Much-Maligned Chain Department Store stocks a $15 firestarter model. They were out of stock, so I upgraded to the $20 firestarter model.
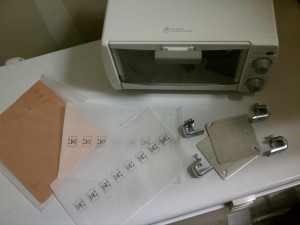
The ragtag bunch of misfits. Clockwise from top: Toaster oven, steel beam clamps, steel electrical work box cover plates, USB mini-B breakout board patterns on baking parchment, double-sided copper-clad PCB blanks.
So, on to the first experiments executed this evening.
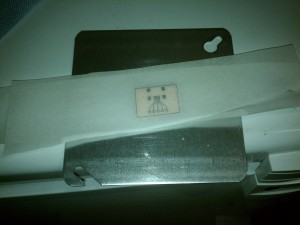
I started by printing the layout of Sparkfun’s USB mini-B breakout board several times over on baking parchment paper. I selected this board because it’s small and thus suitable for repeated trials. (As a bonus, I actually need one; I’ve got a couple of the connectors collecting dust in a drawer.)
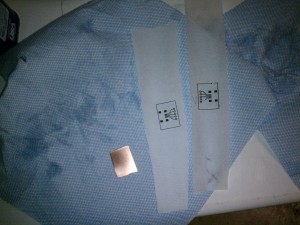
Left to right: A freshly cleaned piece of copper-clad, a nicely printed pattern on parchment, and one that didn’t come out so nicely.
Printing on parchment is tricky. It is something that you can get to work, but it may take a few tries. Parchment paper is coated with silicone, making it difficult to stick anything to. The fact that the paper releases easily is a desirable property for a toner transfer backing, but it does its job perhaps a little too well. Traces printed this way may not stick long enough to fuse correctly, resulting in smears and runs. When a pattern does take correctly, it must be handled somewhat delicately, as it can scratch or flake off without much of an impact. Still, since someone has gotten it to work[1], I think this can be a reasonably useful medium if you have some patience, and it’s certainly priced to sell (sold by the roll in your grocery store of choice).
I may include the other common media (magazine paper, inkjet glossy photo paper) in future experiments.
Incidentally, any sort of slick tape appears to be a bad choice for attaching the medium to ordinary paper; it being all I had at the moment, it caused more paper jams than I’ve ever encountered with this printer. I’ve had more success with matte tape[2].
I cut the copper-clad for the board and gave it a light cleaning with a soft abrasive[3] before building the apparatus around it.
One copy of the pattern was placed on either side of the board. The registration wasn’t given too much attention because that isn’t the point of the current experiment (I’ll work on it once I have the adhesion process working), and because the patterns are both the same rather than flip sides of a double-sided board. To conserve the clearly printed copies of the pattern, a misprinted copy of the pattern was used on one side.
The board and patterns were laid down onto one of the steel plates, then the other plate was placed on top.
The steel clamps were added to the edges of this sandwich and the bolts tightened.
The full apparatus was then placed on the top rack of the preheated oven (there are two heating elements situated at the top and bottom, so the bake should be fairly even regardless) and baked for a specified amount of time.
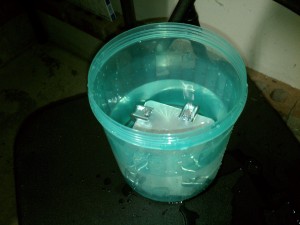
If lowered into the water slowly, there is audible boiling. If dropped quickly, as shown, you end up with a watery mess. Some sort of middle ground is probably a good idea.
Afterward, the assembly is removed from the oven and immersed in cool to tepid water, bringing it to a safe temperature for handling.
The results are examined immediately. The medium is removed without any special degree of care; any toner dislodged by normal handling cannot be considered to have adhered properly.
The variables I’m currently seeking to study are:
- Bake time
- Bake temperature
- Clamp pressure
For tonight’s experiments, I decided on:
- Trials of 10 and 30 minutes
- Temperature of 350°F (setting of the oven, not measured temperature)
- Clamp pressure resulting from tightening the bolts as far as I could using only my fingers, rather than a wrench.
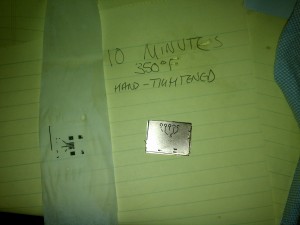
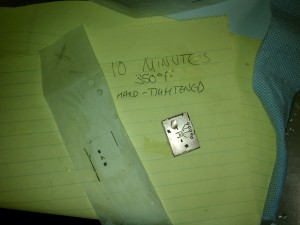
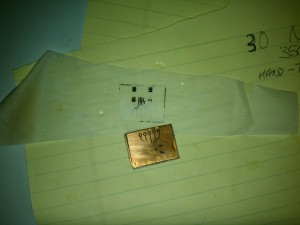
Put briefly, neither result was quite satisfactory, but I believe I’m on the right track. The 10-minute trial gave a better result than I’ve achieved with an iron and parchment. The 30-minute trial was somewhat better, but not so much so that I think adding more time is the key. The toner that did transfer was clear and crisp with no real smudging, which to me indicates that we could afford to apply more pressure. So, it’s likely that the next experiment will be a repeat of tonight’s, except using a wrench to tighten the clamps a little harder.
- [1]Refer to the Instructable by dustinandrews.↩
- [2]“magic” or “invisible” tape↩
- [3]Bar Keepers Friend soft cleanser.↩
