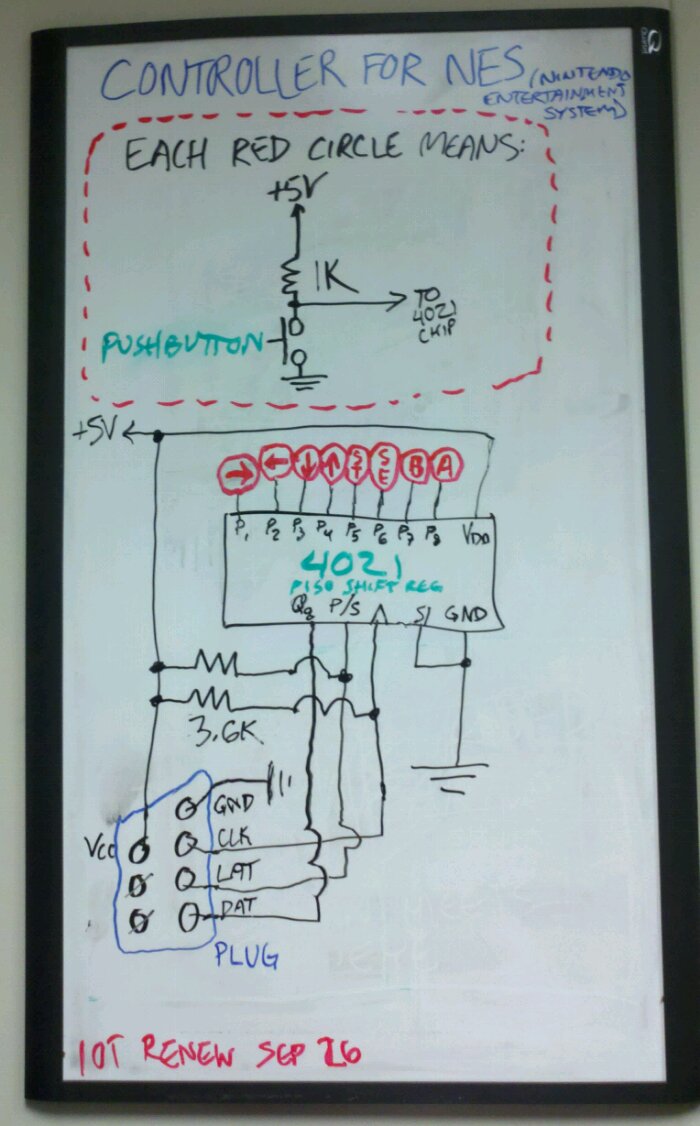
See also a previous post about game controller signaling.
A Serious Serial Protocol: Sony PlayStation and PlayStation 2
- Number of pins on connector: 9 (proprietary male)
- Number of inputs to encode: 14 on the original gamepad (up, down, left, right, select, start, BT/”triangle”, BO/”circle”, BX/”cross”, BS/”square”, L1, L2, R1, R2), but arbitrarily more, including analog inputs
- Mapping strategy: One pin for all inputs
- Reading strategy: A fairly comprehensive full-duplex serial protocol, including provisions for acknowledgement and additional instructions sent by the system, similar to and probably compatible with SPI
- Number of pins used: 8 = 3 power (1 ground, 1 logic supply of nominally 3.3V but possibly more[1], 1 rumble motor supply of nominally 9V but generally closer to 7[1]) + 2 data lines (1 CMD from system, 1 DAT from controller) + 3 signaling lines (1 ATT from system, 1 CLK from system, 1 ACK from controller). (Actual pin names vary.) One pin is left unconnected.
- Fun fact: The same protocol (with different headers and commands) is also used for memory cards.
Sony’s system uses a serial protocol, as was the case with Nintendo, but the Sony version is somewhat more flexible—and quite a bit heavier. As described elsewhere, while it’s possible to implement this protocol using standard logic chips, it takes six of them just to implement the original controller[2]. This protocol very much assumes the presence of at least a microcontroller (which is okay—they’re pretty cheap, and replacing hardware with code often has some serious advantages).
Electrically, the controller ports form a bus. With the exception of the ATT line, all lines are shared among all nodes. The lines that are input into the system, ACK and DAT, are open-collector inputs (to put it one way, instead of “low” or “high” the line expects “low” or “nothing”), allowing them to be shared across devices. The system addresses one controller at a time by lowering the ATT line for that controller.[3] It would make sense for a controller to tri-state ACK and DAT whenever ATT is not low.
When ATT drops, a new session (or packet[1]) begins, and the system and controller prepare to exchange data 1 byte (where a byte is 8 bits in little-endian order) at a time. The controller outputs data on the DAT line and accepts input from the system on the CMD line. Both lines are clocked from CLK. The data lines are set up on a falling edge and read on a rising edge. After each 8 bits, the controller acknowledges receipt by pulling ACK low for a short time[4] The last byte of a session shouldn’t be ACKed; if the hardware tri-states when ATT is off then the ACK pulse wouldn’t be output anyway.
The number of bytes in the session depends on the content of the session itself. The system starts by clocking three bytes: 0x01 (start session), 0x42 (poll), and an idle byte (0xFF). At the same time, three bytes are received from the controller: an idle byte (0xFF), a 1-byte controller ID (such as 0x41 for the original gamepad), and then 0x5A (“here comes data”). (If the ACK is not received after any byte, the system considers the connection broken and moves on.)
The amount of data that comes afterward depends on the controller ID. A digital gamepad yields 2 data bytes (encoding 14 buttons in 16 bits), the classic analog is 6 bytes (the same as digital, plus L3 and R3 stick triggers and 8 bits each for LX, LY, RX, and RY), and, on the PS2 using DualShock 2, a whopping 18 bytes: 6 bytes as with the original analog, plus an 8-bit pressure level for each of the main 12 action buttons!
It’s also possible to send other commands to the controller. Among them is a sequence of commands that can be used to allow some of the idle bytes in the 0x42 command to be used as levels for the vibration motors.
- [1]http://store.curiousinventor.com/guides/ps2/↩
- [2]http://www.gamesx.com/controldata/psxcont/psxcont.htm↩
- [3]ATT roughly corresponds with the NES latch line OUT 0, but is active-low and stays low for the duration of the session.↩
- [4]Sources conflict as to exactly when and for how long, but it’s on the order of one cycle width on CLK. The standard logic version mentioned before uses a missing pulse detector on the CLK line since it goes idle between bytes. It’s probably not too sensitive either way.↩

